
Conditional Rendering in React
A Personal Journey trough a Powerhouse - Pt.2
In the first part of the introductory post on React we talked about how the framework operates and how it delivers content to the HTML DOM. In this part we'll start adding little bit of javascript magic to see how with some basic programing tools we can deliver content in a more dynamic fashion. We are also going to start getting our hands dirty and go trough the necessary steps to start developing with React.
Installation
If you haven't installed Node.js and npm yet, you can do so now by going to Node.js. This will also install the latest npm package.
After the installation is completed, you can check for versions by running:
~ node -vand
~ npm -vNext, lets create the React app.
~ npm create react-app react-introCd in to react-intro directory.
~ cd react-introOne thing that I find helpful is opening the editor right from the current directory in your terminal. If you are using VS Code you can choose this option in the settings and run:
~ code .Alternatively you can open the folder (react-conditional-rendering) from your editor.
Looking inside the React starter project for the first time can be somewhat overwhelming and for me personally it was even intimidating. Lets get rid of most of the things so we can focus on the basic inner workings of the React application. We will mostly work with the /public and /src folders. Go ahead and delete everything inside of these two folders. We will recreate the necessary files from scratch so we can have a better understanding of how all the moving parts fit together. You can leave /node_modules folder untouched and go ahead and delete everything in the root folder, except for the package.json file. Your editors explorer should look something like this:

The HTML DOM
In the /public folder, lets go to the terminal and create index file.
~ cd public && touch index.htmlNow, let's create a new HTML document in our index.html file. **
<!DOCTYPE html>
<html>
   <body>

   </body>
</html>
Again, we are omitting any unnecessary elements and keeping things extra skim to maintain a clear overview.
As we mentioned in the first part of the article, The ReactDOM renders its new elements in the original DOM, in an HTML element which carries the id of 'root'. Lets place one such element inside of our index.html file.
<!DOCTYPE html>
<html>
   <body>
      <div id='root'>
         <!-- ReactDOM will render stuff here! -->
      </div>
   </body>
</html>
Rendering React Elements
In order to serve the newly created node elements to the DOM we will need to touch a new file in the /src folder. From the react-intro directory:
~ cd src && touch index.jsLets first look at our package.json file for a moment.
{
  "name": "react-intro",
  "version": "0.1.0",
  "private": true,
  "dependencies": {
    "react": "^17.0.1",
    "react-dom": "^17.0.1"
  },
The first object in the file lists the available "dependencies". This is where we can find anything we might later add to our project. Things like "react-router-dom" or some add-ons like "font-awesome" etc. Basically anything we might acquire from the extensive list of available packages which we could use in our project.
Once the package is added to our list of "dependencies" all we need to do is import it to our corresponding file. Lets import the necessary packages for our index.htmlfile.
import React from "react"
import ReactDOM from "react-dom"
And just like that, these resources are now available to us. Let's use ReactDOM and call the render() method on it.
ReactDOM.render(<h1></h1>, document.getElementById('root'))As discussed in part one, the render() method will take two arguments. One React element (in this case a JSX heading), and one function which points to the div element with the id of 'root' in the ••index.html•• file.
import React from "react"
import ReactDOM from "react-dom"
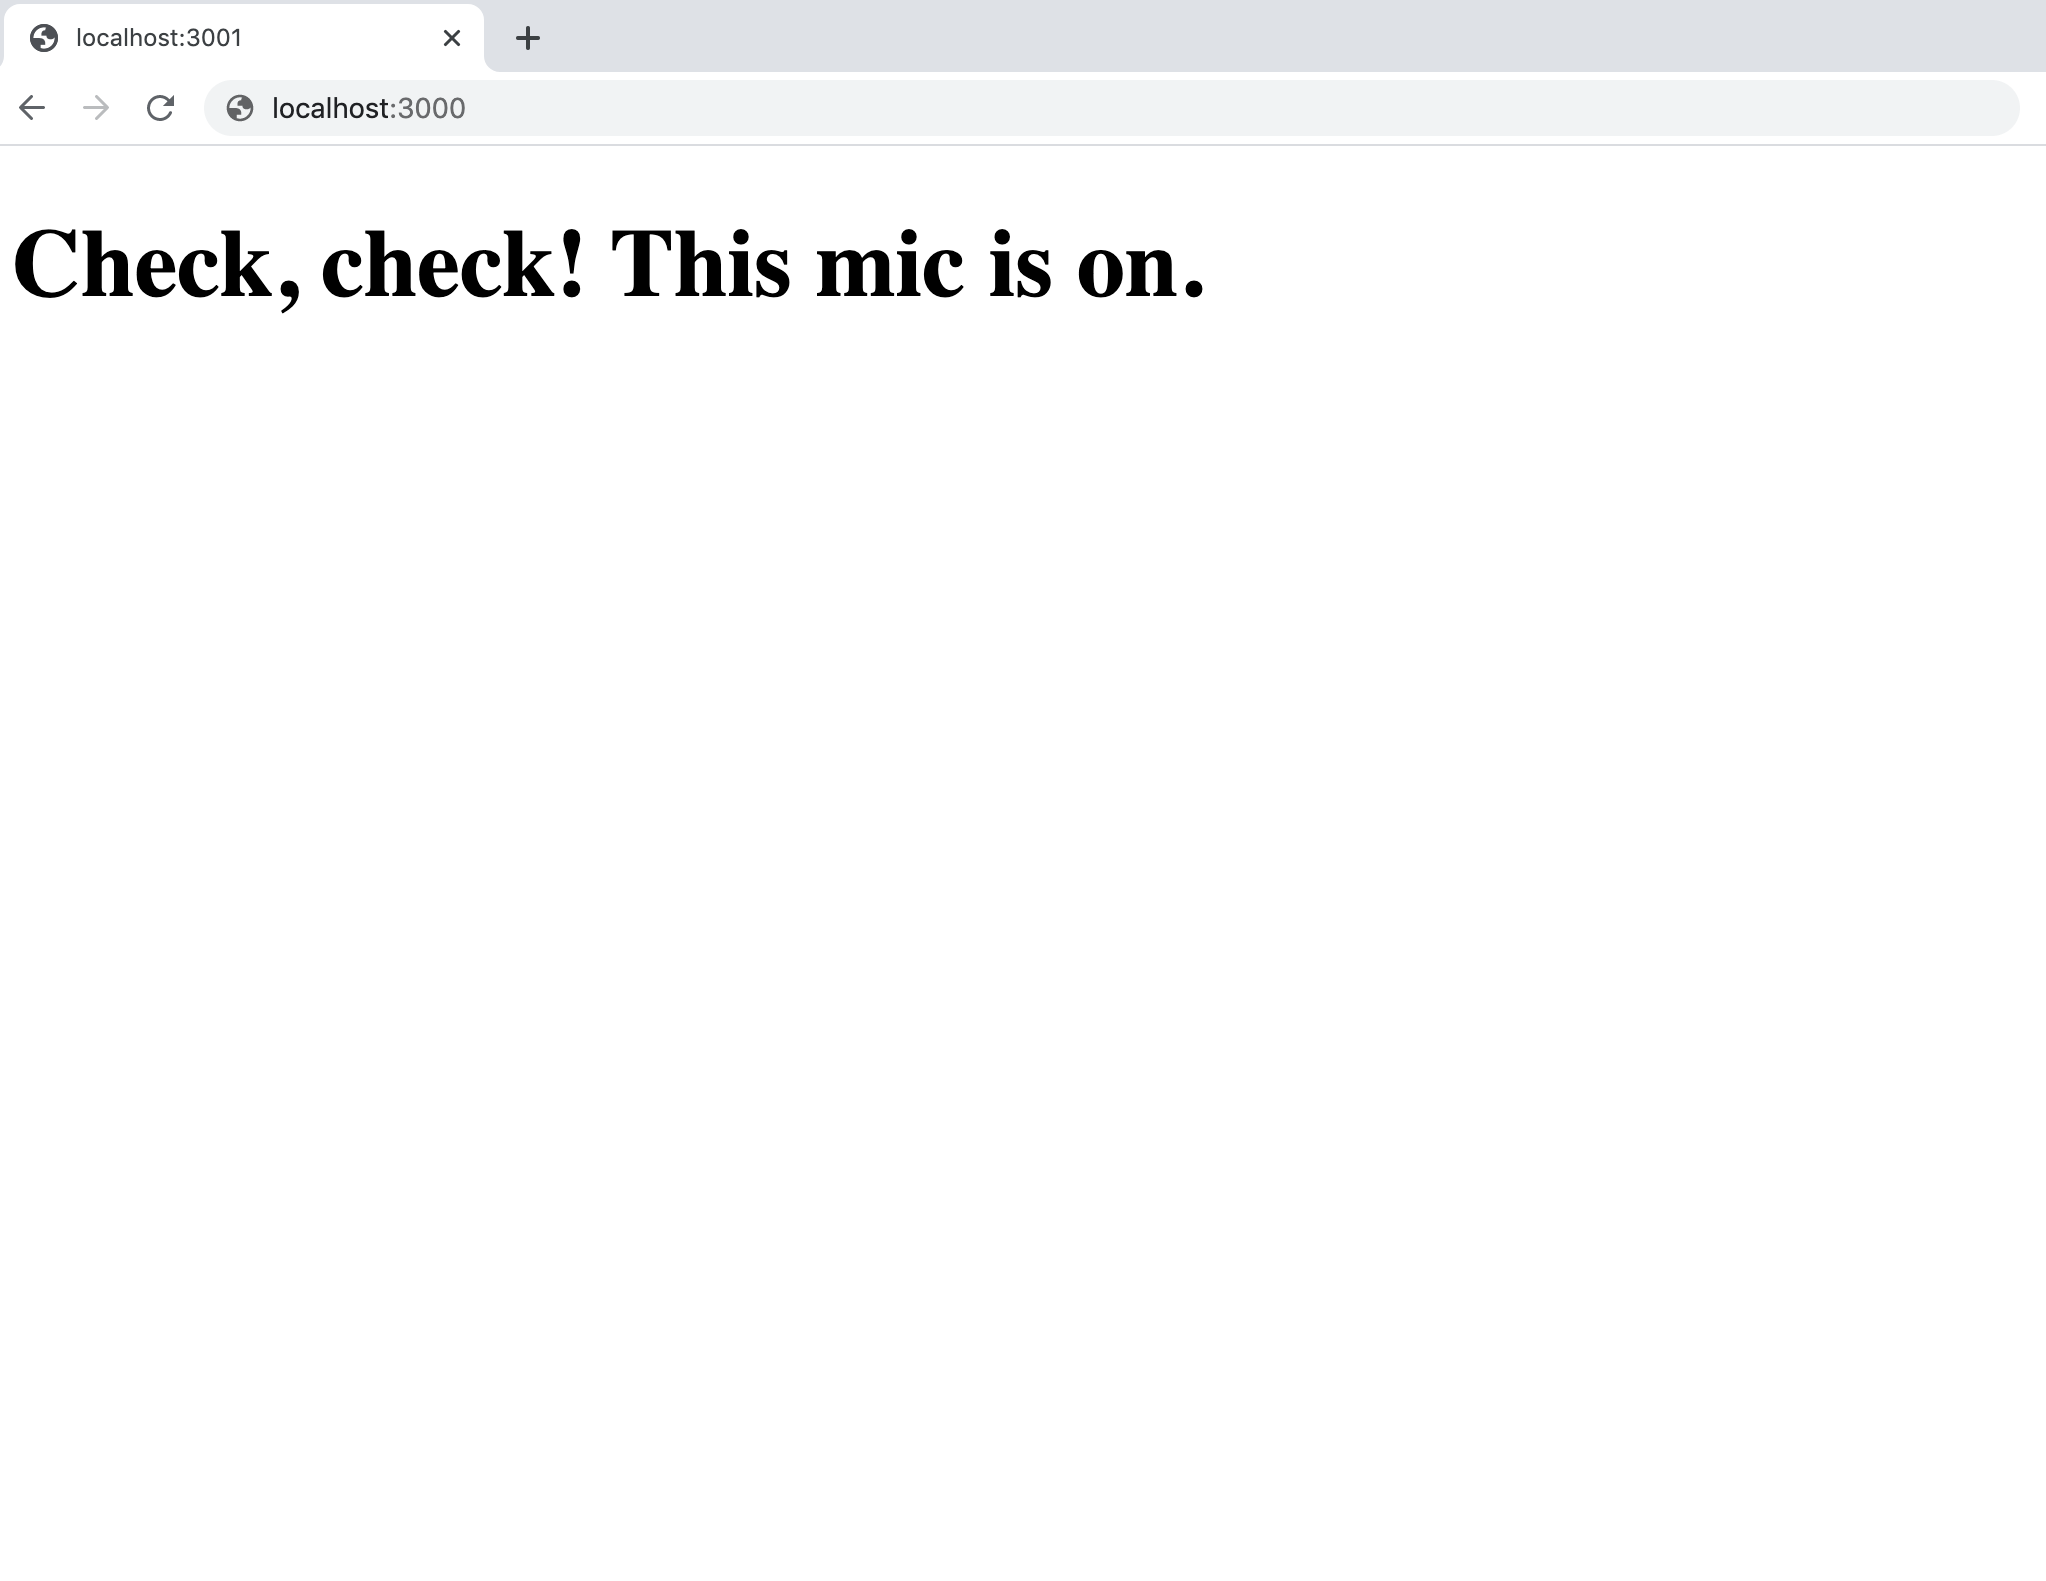
ReactDOM.render(<h1>Check, check! This mic is on!</h1>, document.getElementById('root'))This should tell the index.html file to display "Check, check! This mic is on!" in the browser.
From the react-intro directory:
~ npm run startGo to your browser and navigate to
http://localhost:3000/
Now that we are connected to our local host, we can start developing. Lets try and make some components.
Creating Components
Top Level Component
At the moment we are rendering just a heading in our index.js file. Let's create our top level component and use it to consolidate all of the elements from our app into a single place. Then, we can pass this top level component in the index.html file as the first argument of our render(). By convention, this top level component is named App.js but for our demonstrative purposes lets name it Parent.js.
Let's touch Parent.js file in the /src folder. From the react-intro directory:
~ cd src && touch Parent.jsIn our editor, inside of the Parent.js file, let's first import the React dependency and make the library available to this file.
import React from 'react'Next, let's create our component by making a function and naming it Parent.
function Parent() {
   return()
}
At this point we can guess that, by React convention, the component names are capitalized.
To return React elements in our function we simply place them inside of the return() statement.
function Parent() {
   return(
      <div>
         <h1>My Component</h1>
         <h3>Check, 1, 2...</h3>
      </div>
   )
}
Notice that we wrapped the two headings in to a div element. This is because, as we mentioned in part one, there can only be one parent element in side of a return statement. This pattern of consolidation continues as we dig deeper in to the cluster of our application.
One last thing we need to do before we pass our Parent component in ReactDOM.render() is make sure we export it.
export default ParentOur /src/Parent.js file should look like this:
import React from 'react'

function Parent() {
   return(
      <div>
         <h1>Parent Component</h1>
         <h3>Check, 1, 2...</h3>
      </div>
   )
}
export default Parent
We can now pass the Parent component in our index.js file. First, let's import it.
import Parent from './Parent'Then, we can pass it in our render() method.
import React from "react"
import ReactDOM from "react-dom"
import Parent from './Parent'

ReactDOM.render(<Parent />, document.getElementById('root'))
If your server is not running, start it again with.
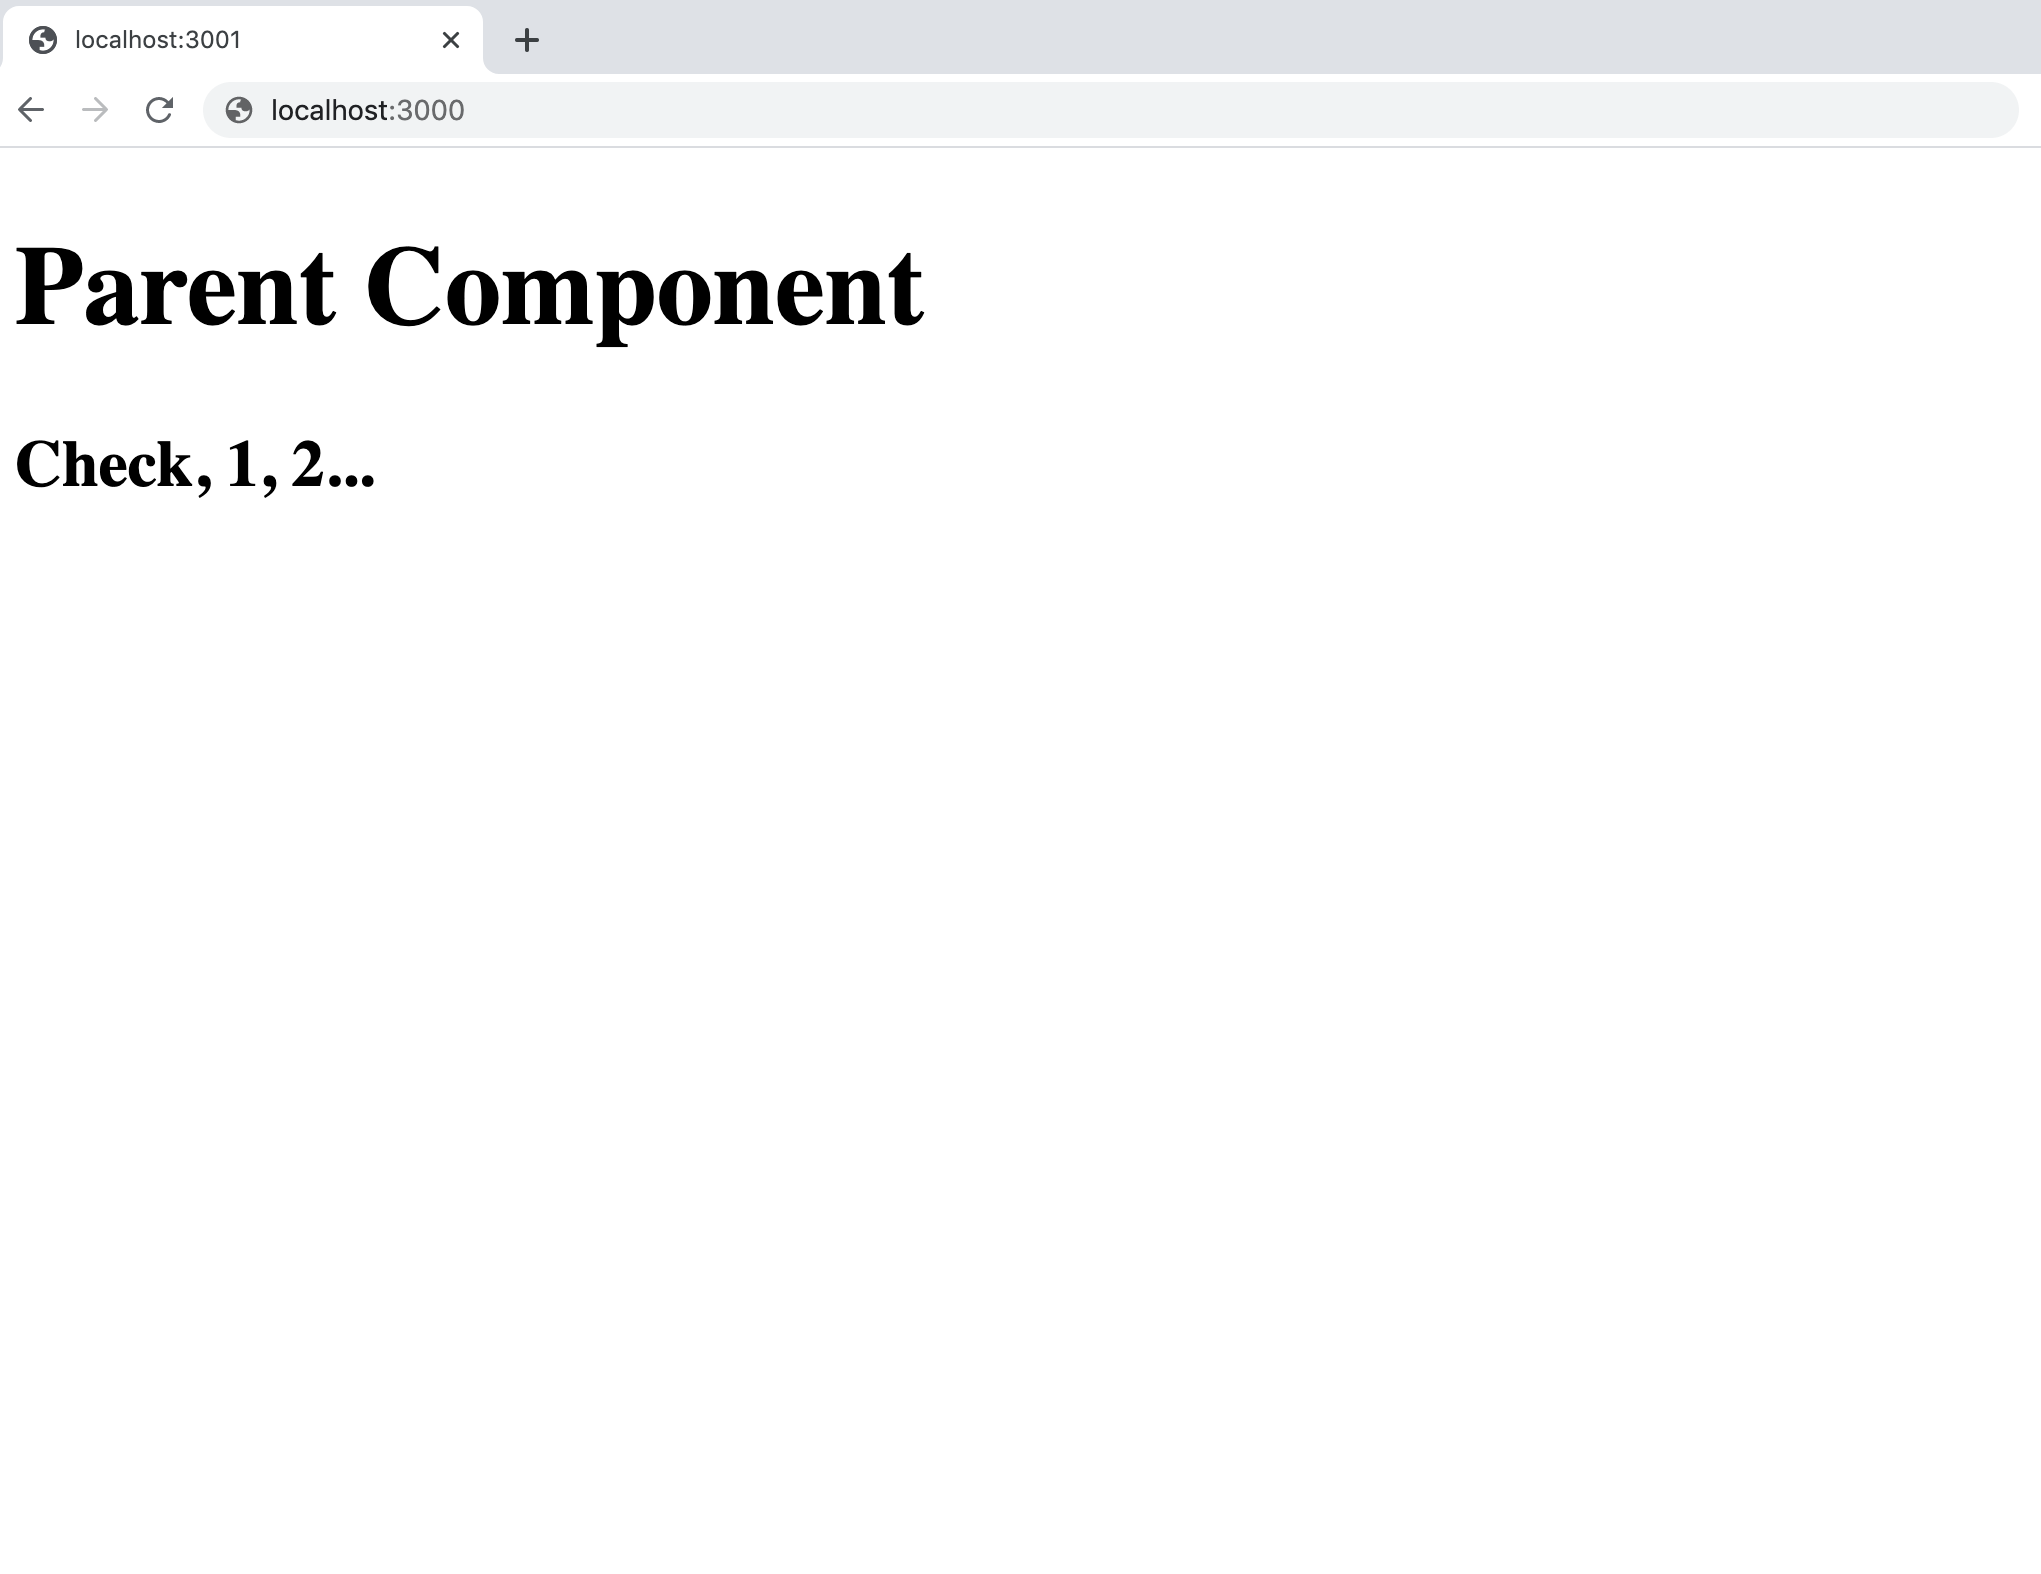
~ npm run startYour browser at http://localhost:3000 should now display the <Parent /> component with all of its elements.
Child Component
Now that we have successfully rendered our top level component, let's create more content by adding a child component.
From the react-intro directory:
~ cd src && touch Child.jsIn our editor, let's follow the same process as we did with Parent.js.
- import dependencies
- create function Child() with a return() statement in the body
- export the function Child()
/src/Child.js
import React from 'react'

function Child() {
   return (
      <div>
         <h2>Child Component</h2>
         <p>Content of Child Component is here:</p>
      </div>
   )
}
export default Child
After adding some content, in this case a heading and a paragraph, let's render our new <Child /> component inside of the Parent component. First we need to import it.
import Child from './Child'And finally, right underneath the horizontal rule tag (just to 'visualy' separate the content of the two components), we pass it inside of the return() statement.
/src/Parent.js
import React from 'react'
import Child from './Child'

function Parent() {
   return (
      <div>
         <h1>Parent Component</h1>
         <h3>Check, 1, 2...</h3>

         <hr/>

         <Child />

      </div>
   )
}
export default Parent
If your server is not running already, start it from the react-intro directory.
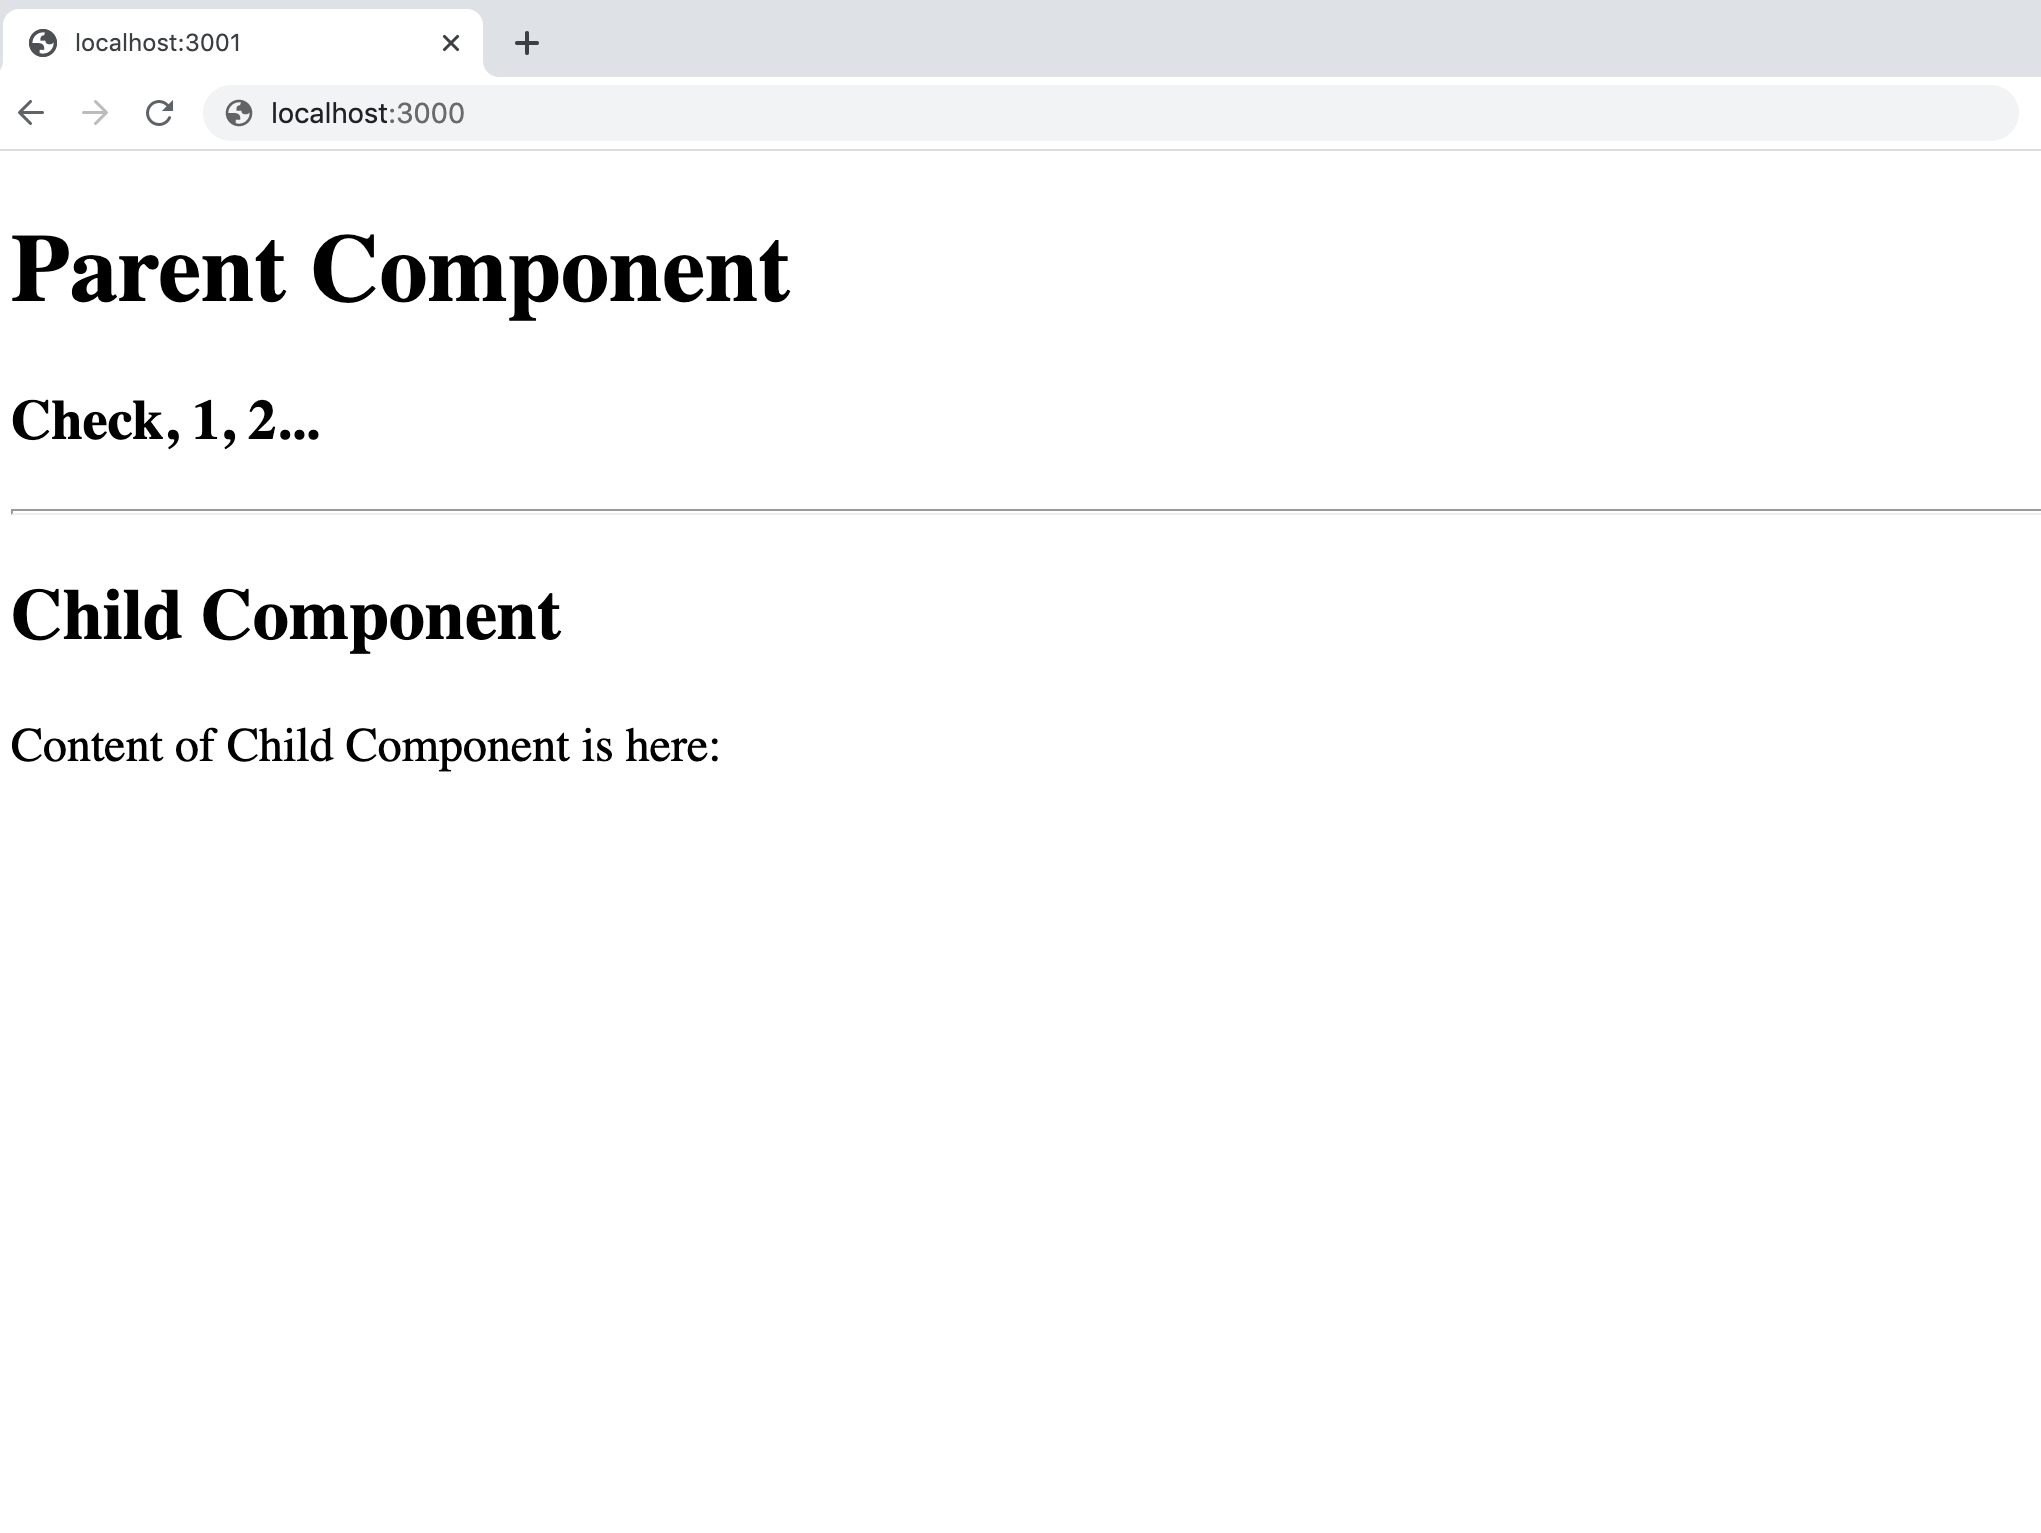
~ npm run startAnd back at your browser at http://localhost:3000 we should see the elements (separated by the horizontal rule) of both parent and child components.
And so we have managed to pass some static content from one component to another. Now let's explore how we can use React Props to move some content around in a more programmatic fashion.
Using Props as a Condition for Rendering
In this part we will go over:
- Passing props from top level component to a child component
- Storing data and assigning it to props
- Using conditional statements to render content inside of components
1. Passing Props
Let's pass a simple prop from the parent component directly to the child component like so:
/src/Parent.js
import React from 'react'
import Child from './Child'

function Parent() {
   return (
      <div>
         <h1>Parent Component</h1>
         <h3>Check, 1, 2...</h3>

         <hr/>

         <Child message='Hi there!' />

      </div>
   )
}
export default Parent
In order to accept the props from the Parent component, we need to pass them as an argument in the function Child().
function Child(props) {...}Let's also slightly edit the content of the Child component just for the demonstrative purposes.
import React from 'react'

function Child(props) {
   return (
      <div>
         <h2>Child Component</h2>
         <p>A message from my Parent says:</p>
         <h3>{props.message}</h3>
      </div>
   )
}
export default Child
Let's check our browser again at http://localhost:3000
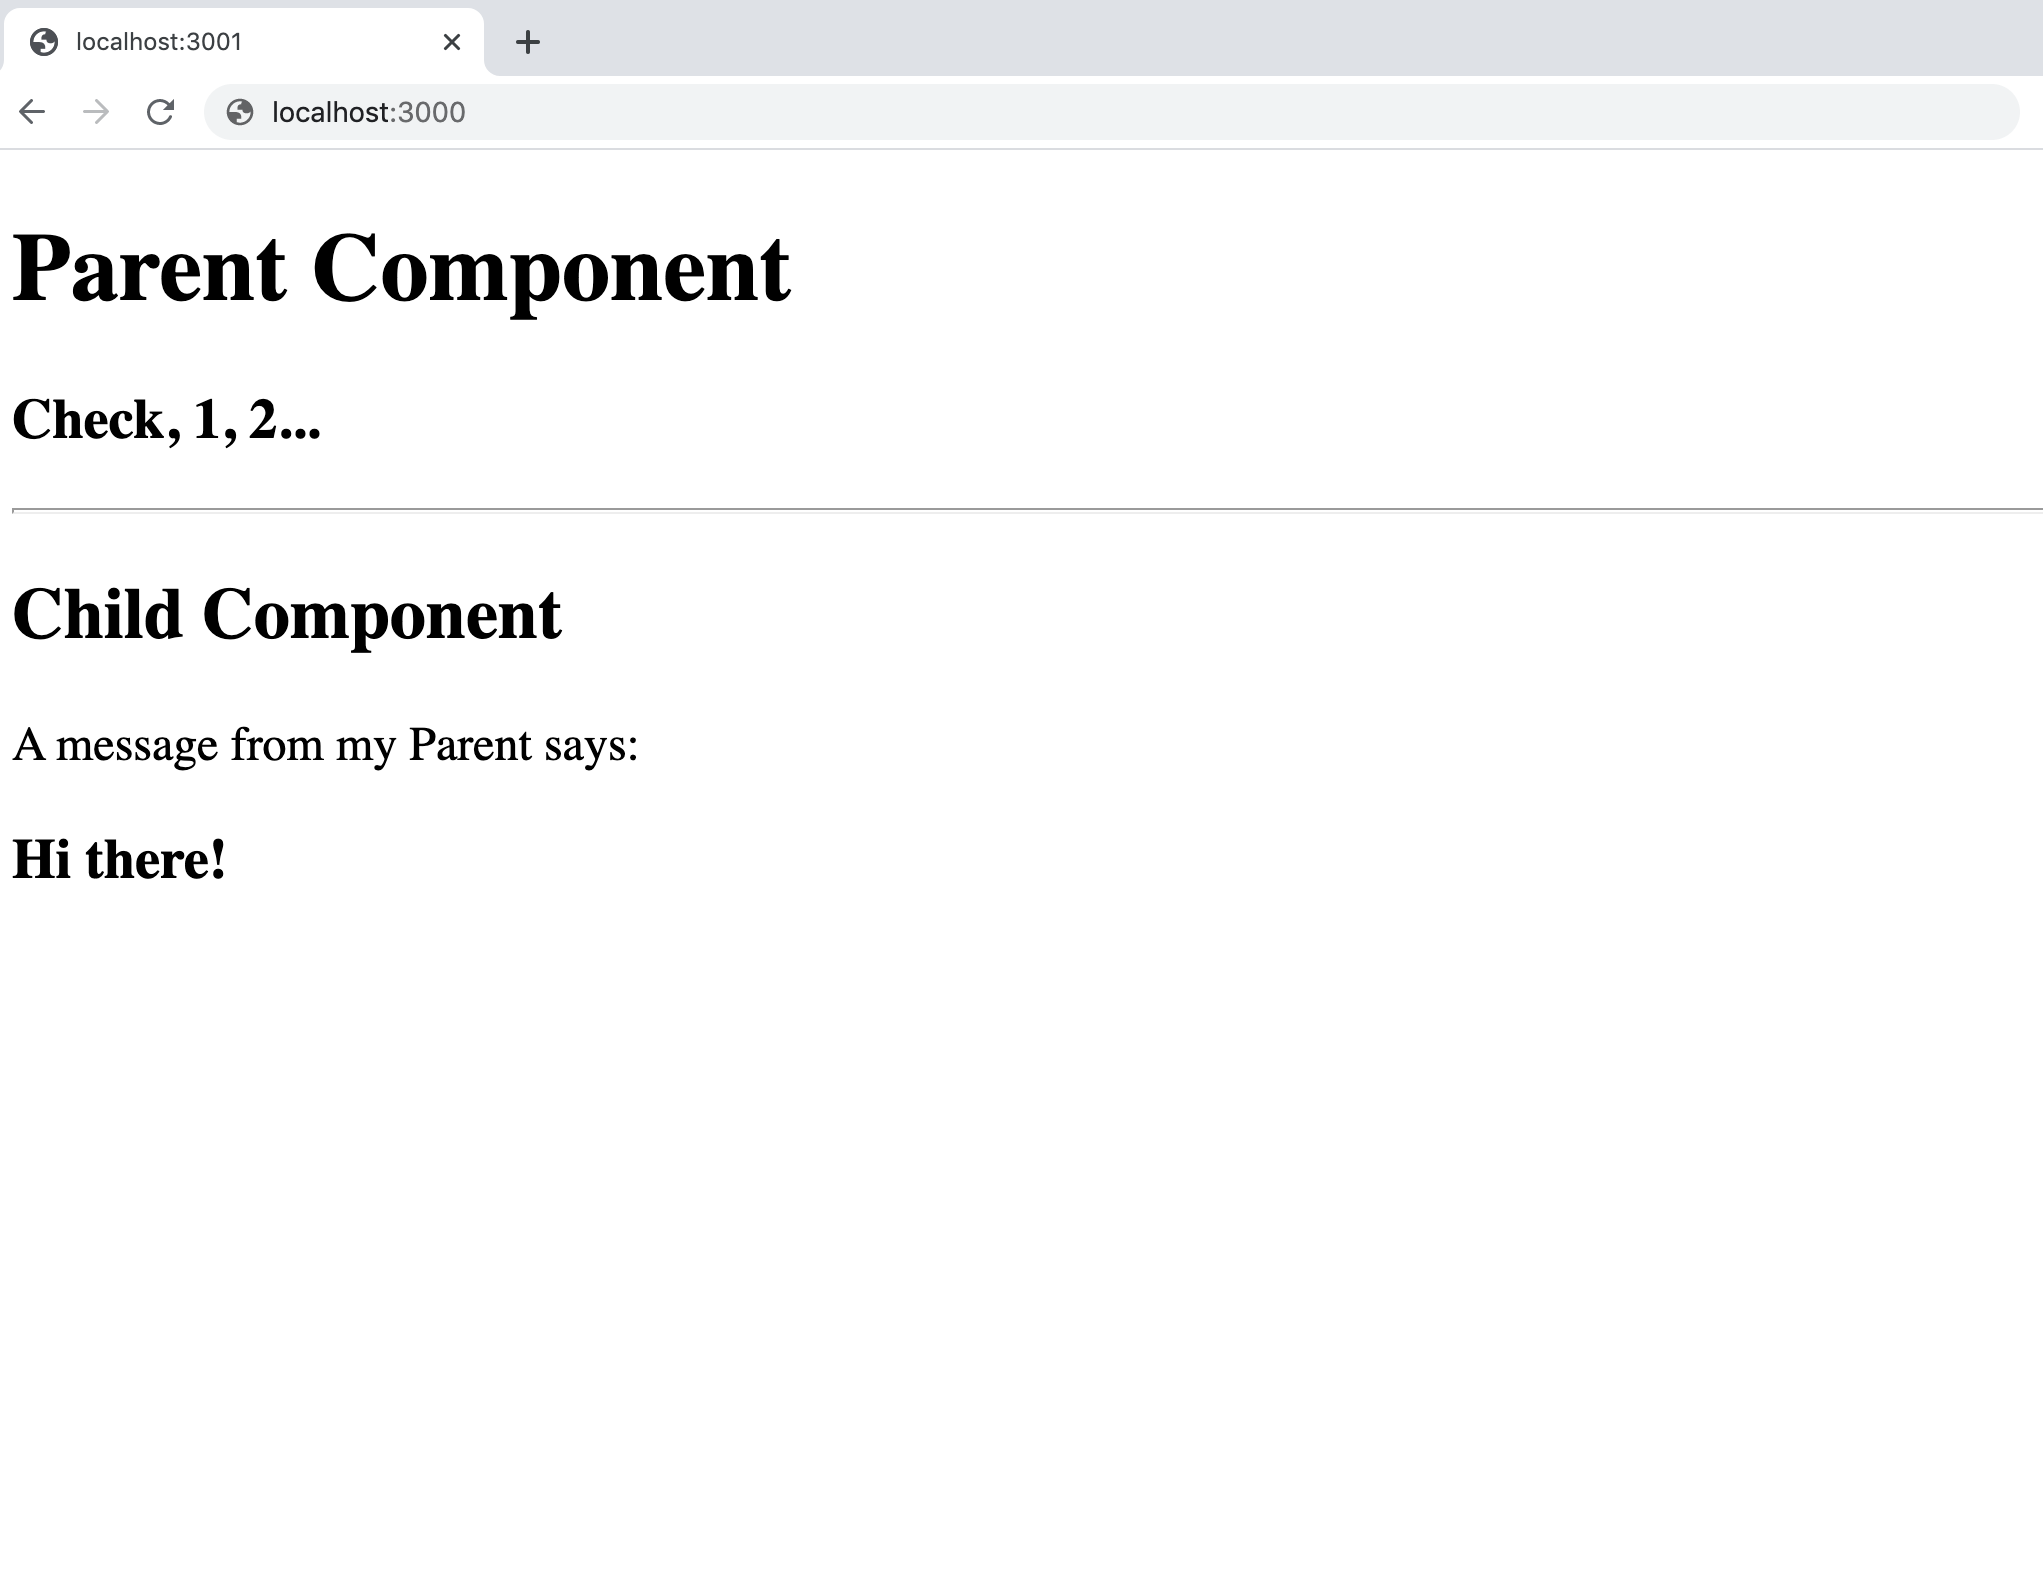
We managed to distribute the content from one component to another, avoided repetition in our code while relying on a more programmatic approach. The difference between hard coding a simple sentence for the second time and passing it on, the way we just did, might not seem significant at first. However, if we can imagine greater amount of information (in forms of multiple paragraphs, lists, images etc.) being distributed across several child components, then the potential of this approach becomes more apparent.
2. Storing Data and Passing it to Props
Now let's back up for a moment and take a look at the syntax inside our h3 within the Child component.
<h3>{props.message}</h3>This tells us that props is carrying the information in a form of an object.
   props = {
     "message": "hi"
  }
Which means that we can pass multiple properties inside and use them to pass different kind of information.
   props = {
     "message": "hi",
     "message2": "call me back",
     "toad": "Not eactly a frog!"
  }
Let's place an Object inside of the body of our function Parent() component like so.
function Parent() {

   const banana = {
      exists = true,
      ripe: true,
      fact: 'They go bad too fast!',
   }

   return (...)
}
Now we can pass different pieces of information and use them as a condition to render different elements inside the Child component.
3. Using Conditional Expression to Render the Content
Now let's make it so that the child component will show itself in the browser only if our object property exists: evaluates to true.
The Conditional Operator
Let's quickly review what the Conditional Operator is and how it works. Here is a simple conditional statement.
if (some condition == true) {
   // do something
} else {
   // do nothing
}
For this conditional statement to work inside of a return() statement, within the function Parent() component, we need to convert it in to an expression. For this we can use the Conditional Operator like so:
condition == true ? <Child /> : ''The line above reads as follows:
If (?) condition is true, then render child component, otherwise render empty string ('').
In the beginning, after using conditional statements, it took me a minute to get used to this javascript ternary expression. The Conditional Operator is generally considered slightly less 'readable', compared to if/else statements. However, when used appropriately, with time it becomes easier on our eyes.
We could further simplify our expression above.
condition ? <Child /> : ''This would simply read as: is there such a thing as condition and if so, is it true?
Guard Operator
A common practice is to use logical operator && , in this context sometimes referred to as guard operator.
condition && (<Child />)This line of code above will execute if both sides of logical operator && evaluate to truthy. In other words if they both exist.
Let's use the guard operator from above to conditionally render our child component inside of the function Parent() component.
First, let's set up our child component by including some relevant content about the banana!
/src/Child.js
import React from 'react'
function Child(props) {
return (
<div>
<h2>Child Component</h2>
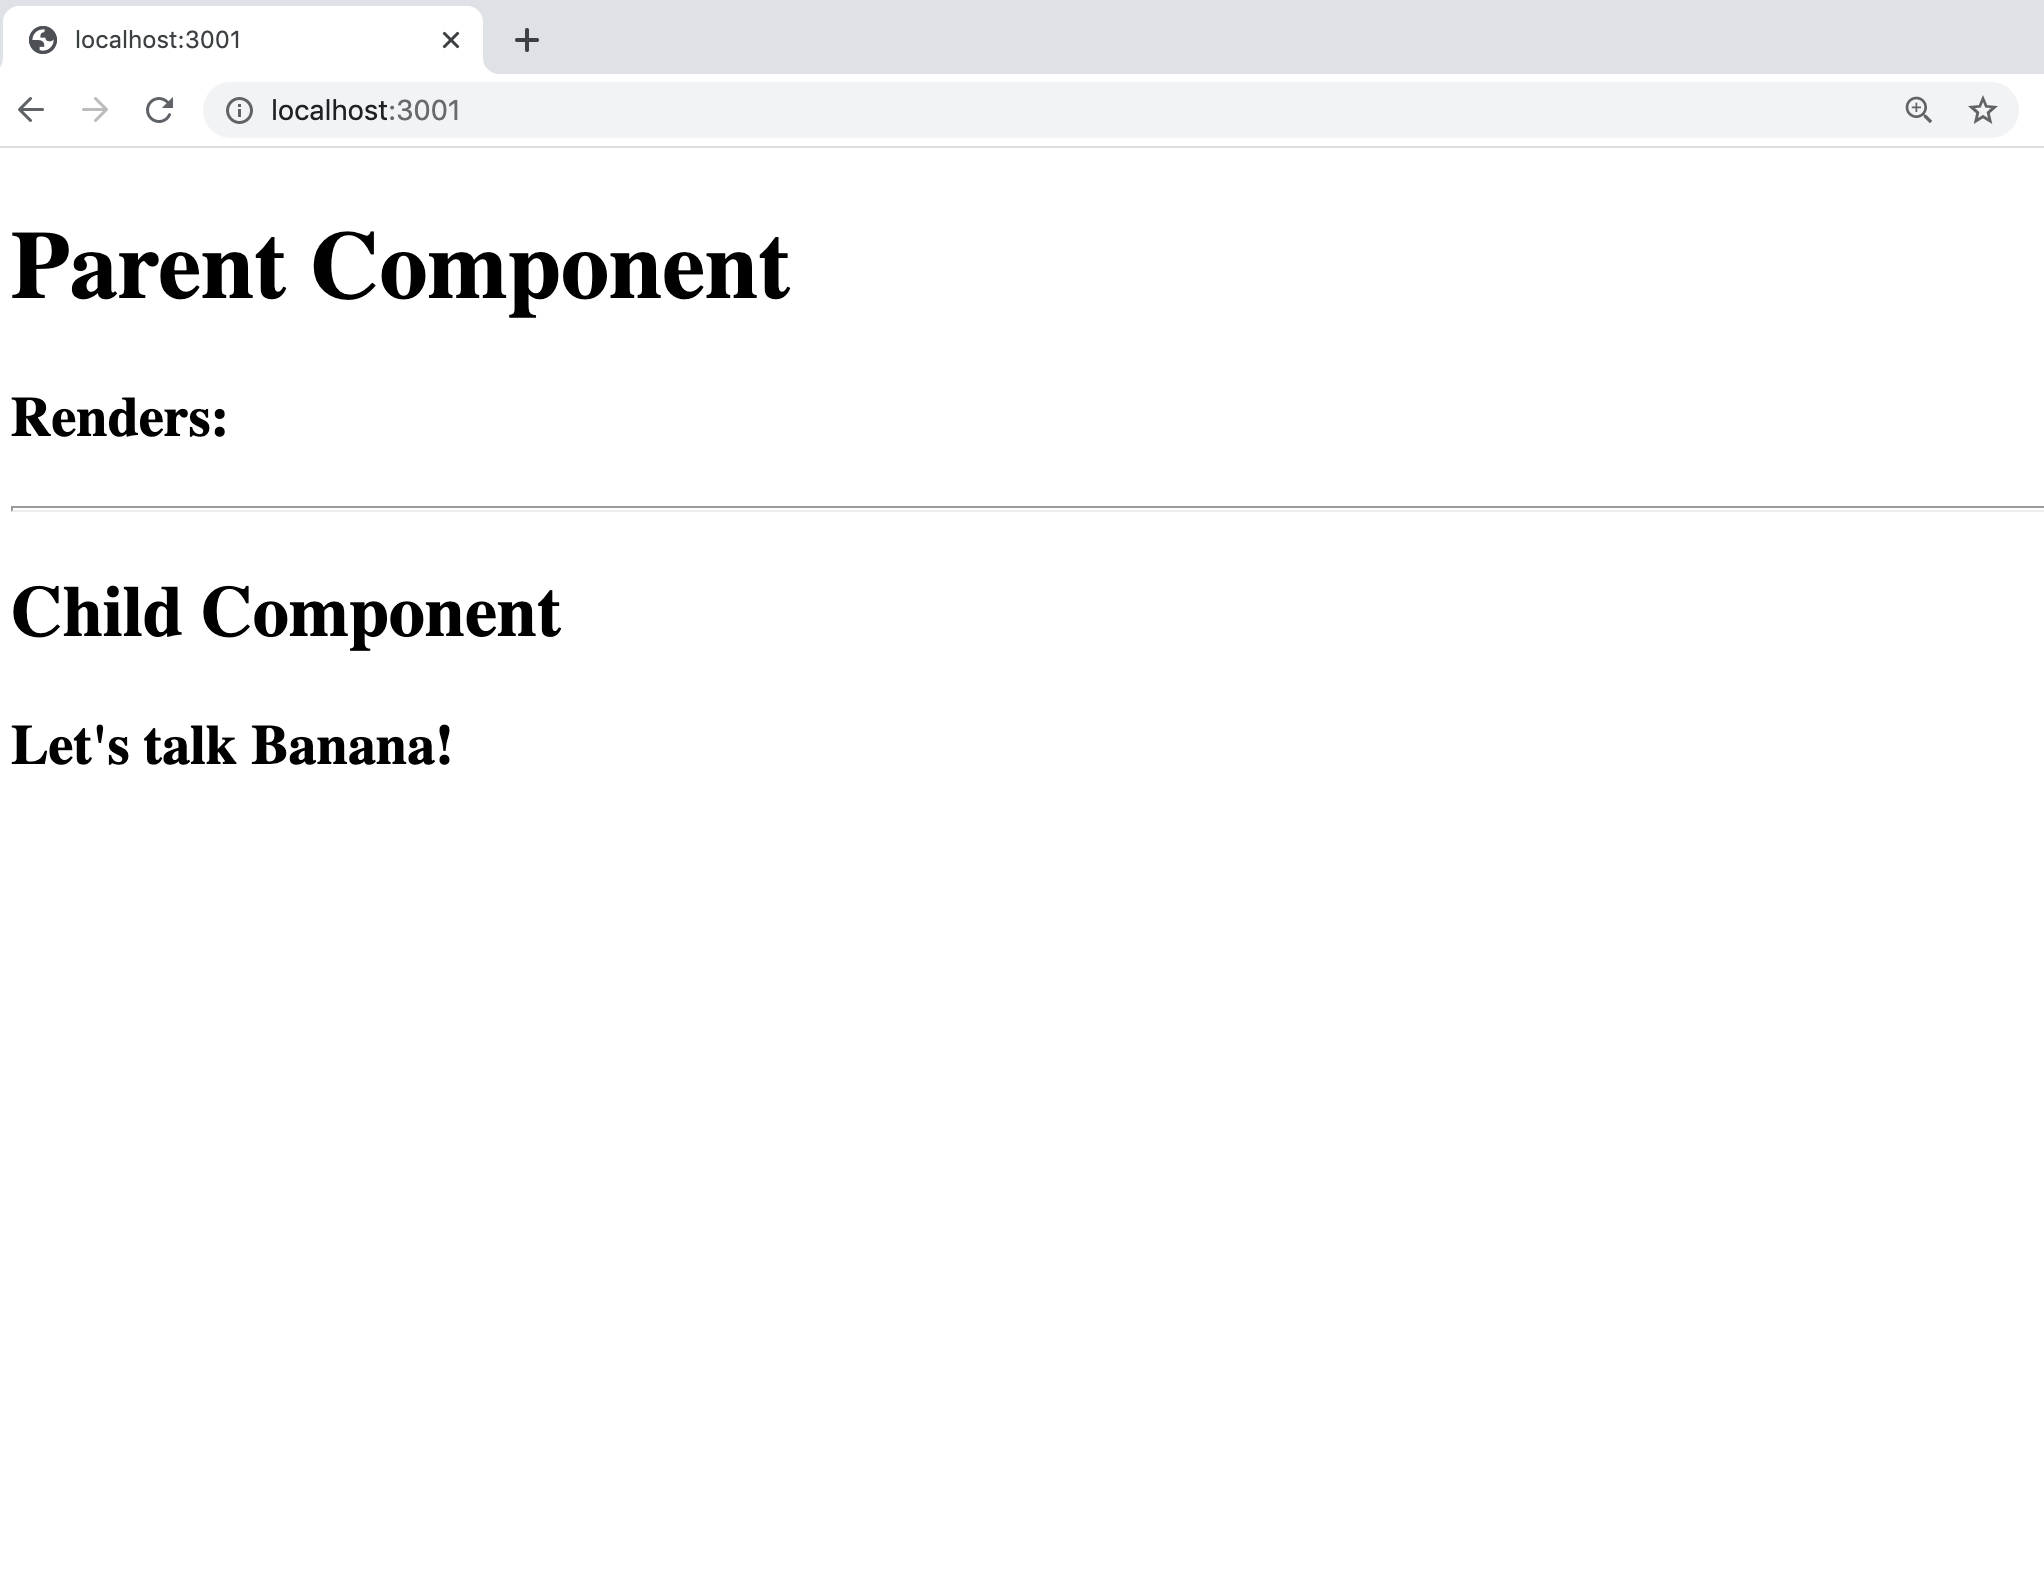
<h3>Let's talk Banana!</h3>
</div>
)
}
export default ChildThen, lets employ the conditional rendering.
/src/Parent.js
import React from 'react'
import Child from './Child'

function Parent() {

   const banana = {
      exists = true,
      ripe: true,
      fact: 'They go bad too fast!',
   }

   return (
      <div>
         <h1>Parent Component</h1>
         <h3>Renders:</h3>
         <hr />
         {banana.exists && (<Child />)}
      </div>
   )
}
export default Parent
The way we set up our conditional rendering for the child component reads something like this: If banana.exists is evaluating to true, and if there is an element identified as child then include that particular element inside of this return() statement.
If we look in our browser at http://localhost:3000
Now, inside the banana object change the property exist: true to exist: false and watch the child component disappear.
Let's take it just a bit further and render some more elements inside of the Child component using the Conditional Operator.
/src/Child.js
import React from 'react'
function Child(props) {
return (
<div>
<h2>Child Component</h2>
<h3>Lets talk Banana!</h3>
{
props.ripe ?
<div>
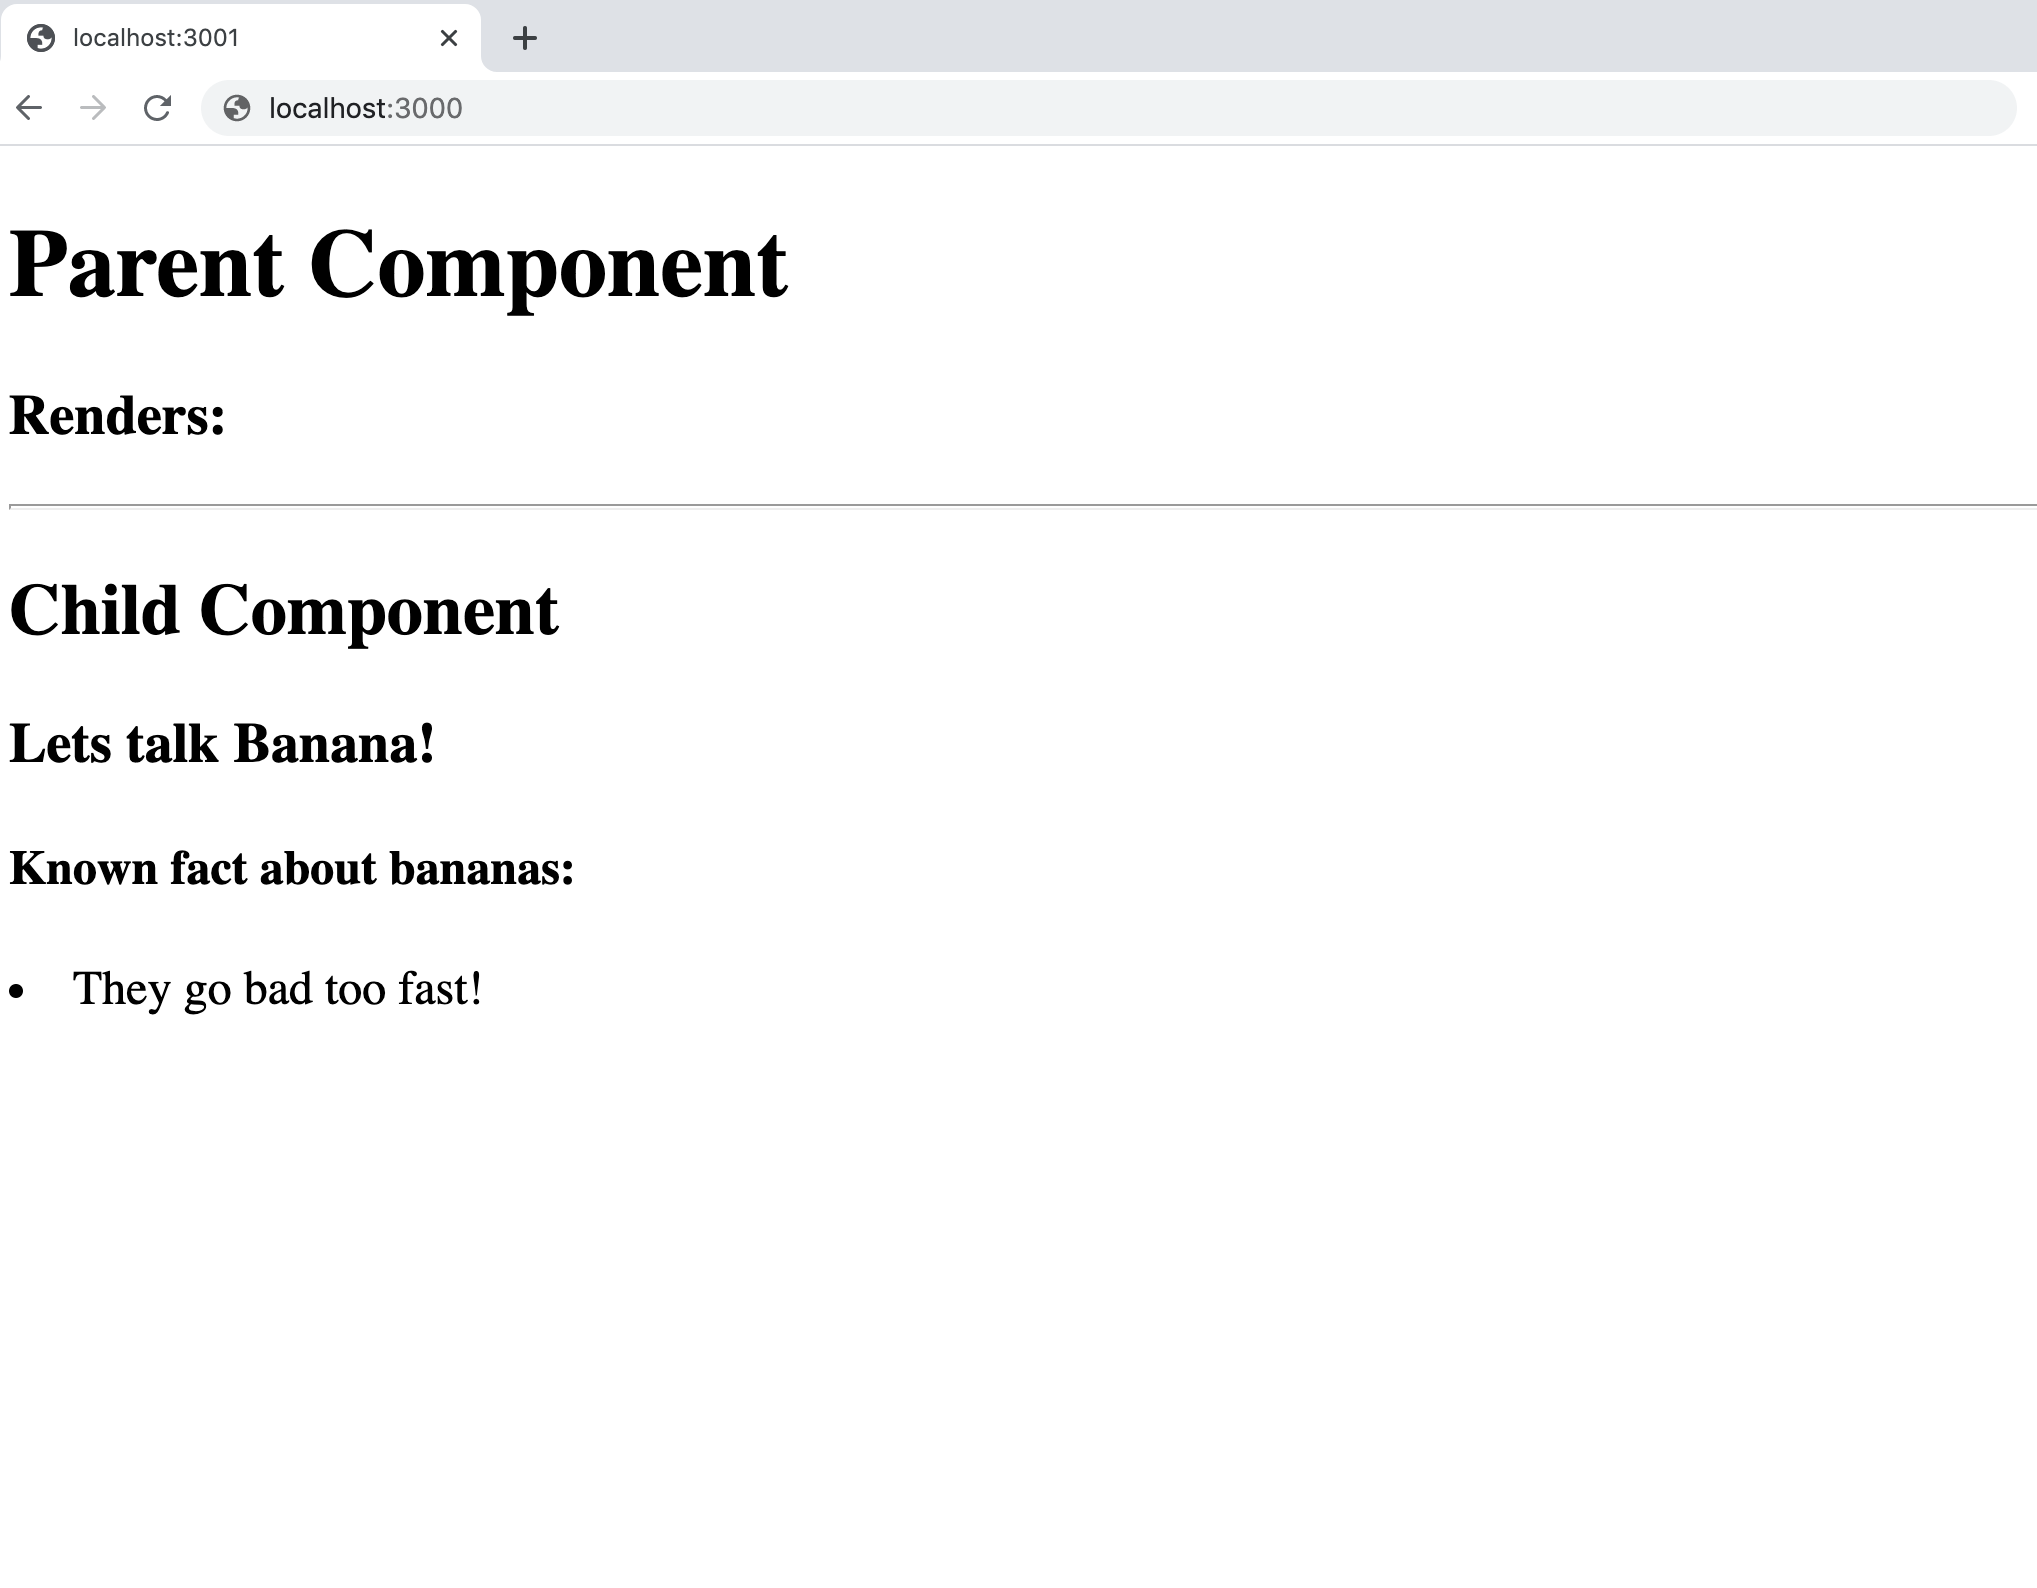
<h4>Known fact about bananas:</h4>
<li>{props.fact}</li>
</div>
:
<h3>These bananas are green</h3>
}
</div>
)
}
export default ChildThe Conditional Operator from above can be read as: if props.ripe evaluates to true, include elements h4 (containing a string 'Known fact..') and li (containing the value of props.fact), otherwise include h3 with its content.
And let's make sure all the required props are passed to the Child component.
/src/Parent.js
import React from 'react'
import Child from './Child'

function Parent() {

   const banana = {
      exists = true,
      ripe: false,
      fact: 'They go bad too fast!',
   }

   return (
      <div>
         <h1>Parent Component</h1>
         <h3>Renders:</h3>
         <hr />
         {banana.exists && (
            <Child
               ripe={banana.ripe}
               fact={banana.fact}
            />
         )}
      </div>
   )
}
export default Parent
Let's make sure it works in our browser at http://localhost:3000
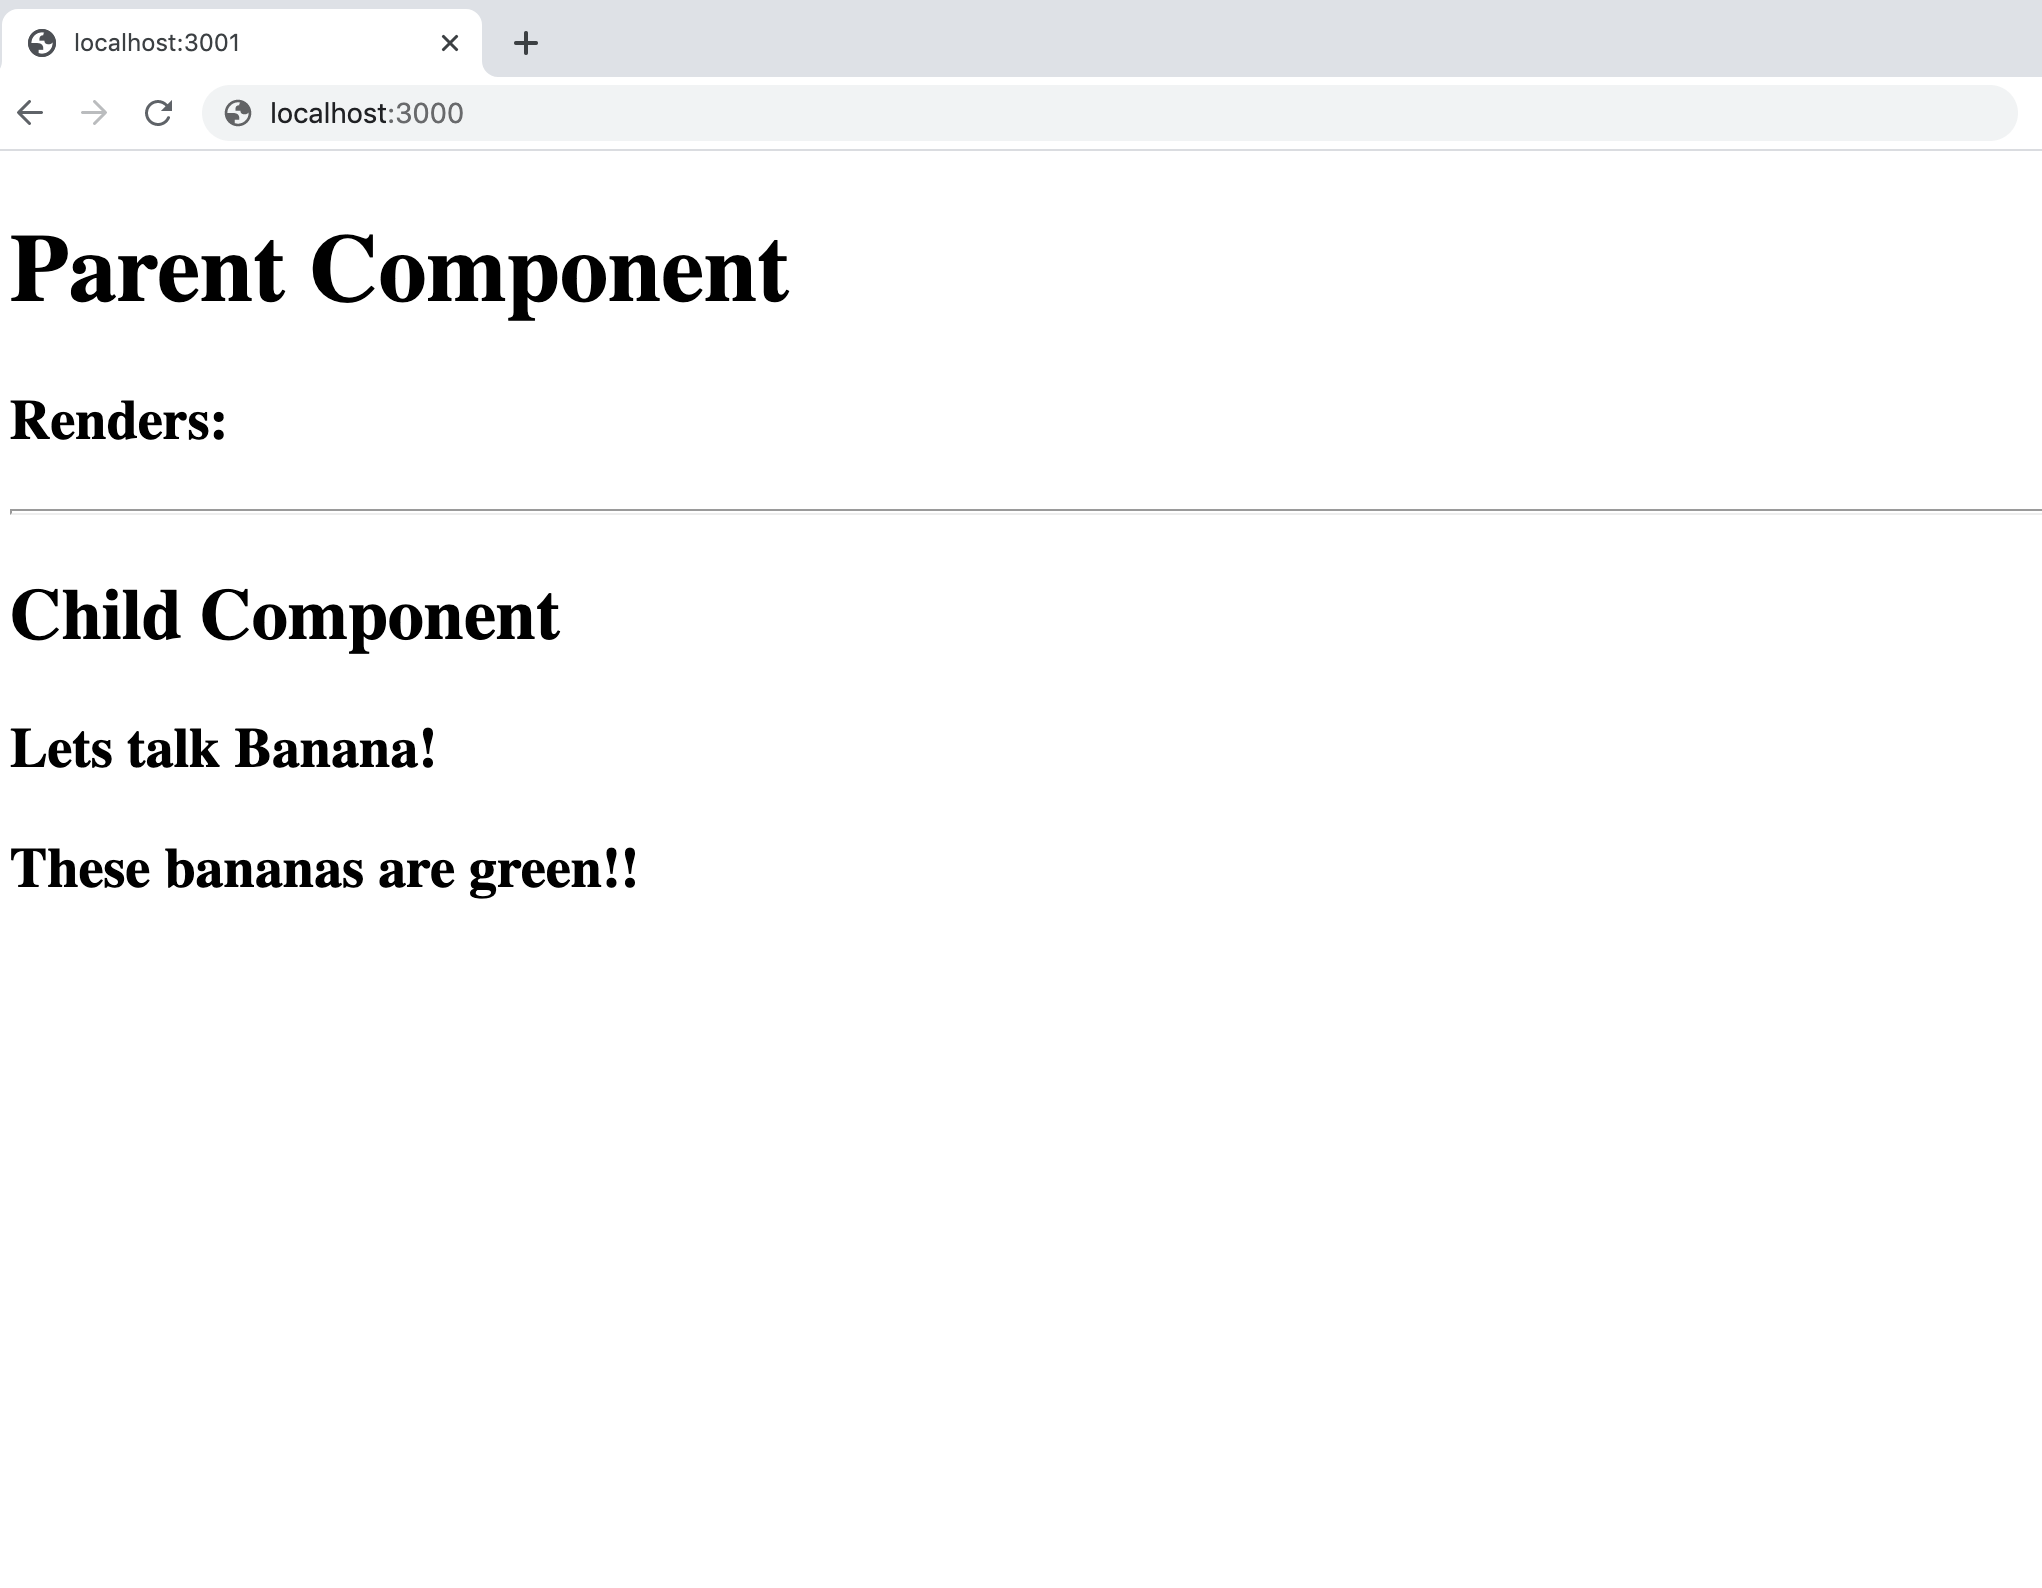
Now, change the property ripe: false inside the banana object to true and watch the content of the child component change in the browser.
And that would conclude our part on conditional rendering. In the next article we will learn about class components, state and event handlers. These concepts will give us the ability to render elements based on user input.
K.Agan - Dec '20, Brooklyn, NY